How to Seal a Motorcycle Fuel Tank with Rustbuster Products
Sealing your motorcycle fuel tank is an important step in protecting it against rust and ethanol-related damage. With Rustbuster’s trusted range—Slosh Tank Sealer, Tank‑Kleen, and PC‑7 Epoxy Repair Paste—you can restore and safeguard your tank properly and affordably.
Why Seal a Motorcycle Fuel Tank?
Modern petrol blends, particularly those containing ethanol, can be harsh on older tank interiors. They promote rust, cause degradation, and may lead to pinholes or leaks. Rustbuster’s Slosh Tank Sealer is ethanol-resistant and designed to work on steel, aluminium, and GRP tanks, sealing up to 500 µm pinholes and weeping seams to prevent further deterioration.
What You’ll Need
-
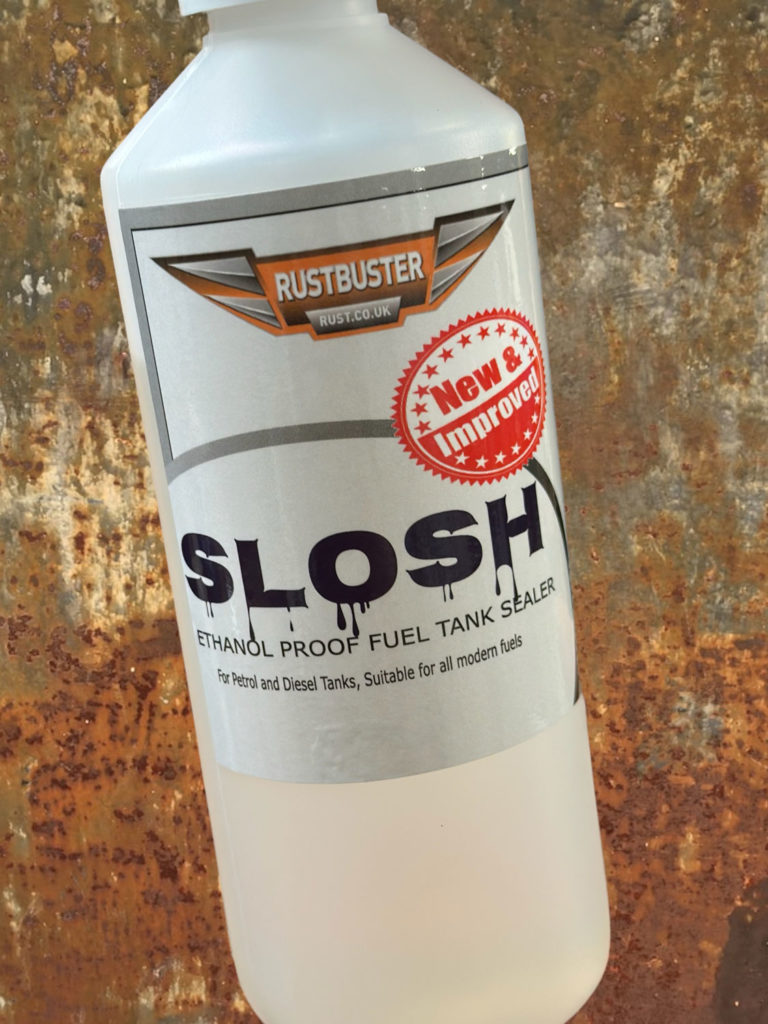
Slosh Tank Sealer – polyurethane-based, resistant to ethanol fuels including E10 and E85
-
Tank‑Kleen SP10 – a powerful caustic detergent that removes tar, grease, and fuel residue
-
PC‑7 Epoxy Repair Paste – a petrol-resistant epoxy for sealing larger holes externally
Step 1: Clean the Tank with Tank‑Kleen
Remove all plugs, filters, and sender units from the tank.
Pour Tank‑Kleen SP10 into the tank. Add nuts, washers, or small stones to help agitate stubborn grime.
Shake the tank thoroughly, then drain and rinse repeatedly until all residues are gone.
Dry the tank completely—using an air blower is highly recommended to ensure no moisture remains inside.
Step 2: Repair Any Larger Holes
Check the tank for holes larger than 500 µm. These should be sealed externally using PC‑7 Epoxy Repair Paste. It’s ideal for repairing welding joints or damaged sections before proceeding with internal sealing.
Step 3: Apply Slosh Tank Sealer
Wearing gloves, pour the entire contents of Slosh Bottle 1 into the tank.
Carefully rotate the tank to ensure the sealer fully coats all internal surfaces. Let it rest for 20 minutes before repeating the process twice more.
Drain any remaining sealer via the tank’s drain plug (not the filler neck) back into the tin for reuse.
After around two hours, repeat the entire process using Slosh Bottle 2.
Allow the tank to cure for a minimum of 24 hours, though five days is recommended for a complete cure.
Step 4: Final Checks and Refitting
Once the tank has fully cured, remove any visible excess sealer and reinstall all components—filters, senders, plugs, and caps.
Dispose of any leftover sealer as dry waste once it has fully set in the tin.
Key Benefits
-
Ethanol-proof tank sealing for modern fuels including E10 and E85
-
Straightforward application: pour, agitate, and drain
-
Long-term internal corrosion protection with minimal effort or downtime
Pro Tips
-
Ensure the tank is completely dry before sealing—any moisture may cause bubbling or affect adhesion
-
Block off all outlets, breather pipes, and fittings before sealing—do not attempt to seal them
-
Never drain the excess sealer through the filler neck, as this may cause pooling or uneven curing
Conclusion
With Rustbuster’s Slosh Tank Sealer, Tank‑Kleen SP10, and PC‑7 Epoxy Repair Paste, sealing your motorcycle tank becomes a simple and highly effective job. This process offers robust, ethanol-resistant protection that’s ideal for classic restorations and modern motorcycles alike.
Looking for a complete motorcycle tank sealing kit or expert guidance? Visit rust.co.uk or get in touch with our team in Spalding.
Visit the Rustbuster Ltd website for more information on How to Seal a Motorcycle Fuel Tank with Rustbuster Products
ENQUIRY FORM